Helldivers 2 Loadouts: Best Builds for Bugs, Bots, Illuminate, and Solo
The best Helldivers 2 loadout is the one that answers the mission threat your squad cannot already cover. Start with the objective, assign a job to every slot, and then adjust for faction, difficulty, and whether you are playing alone or with a coordinated team.
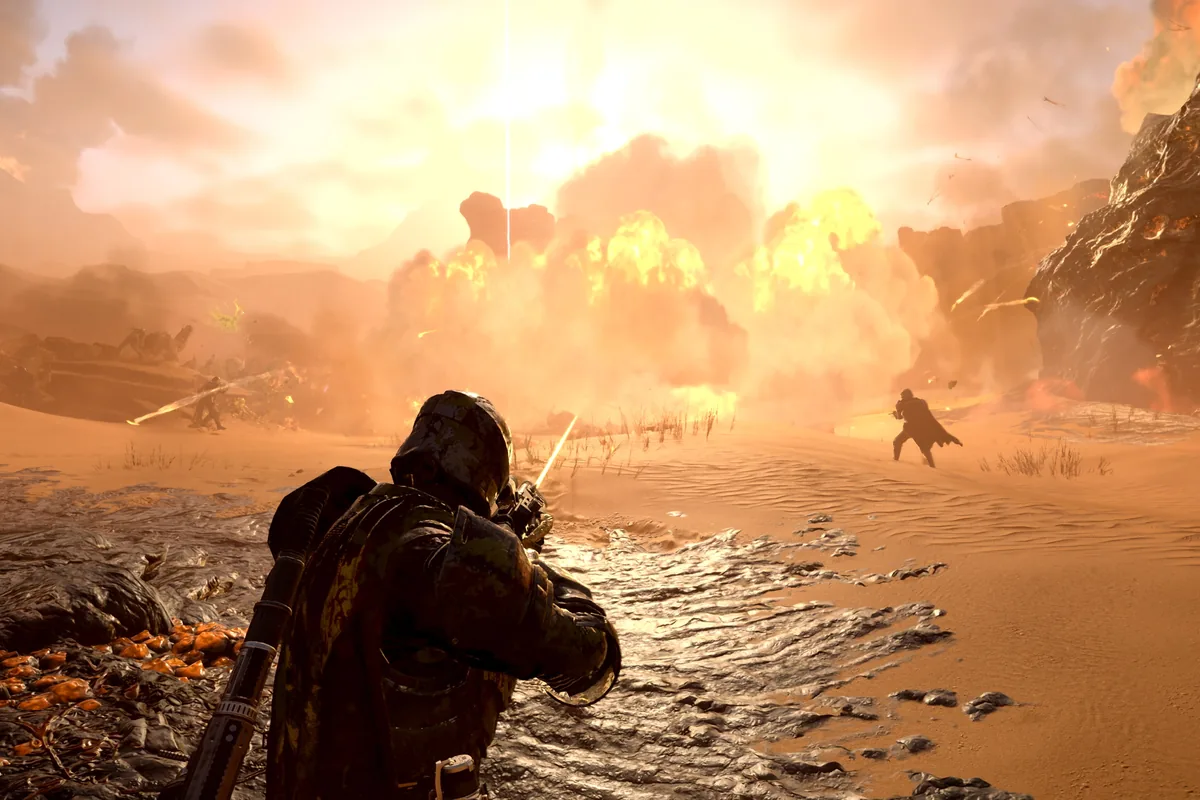
Quick answer: what makes a good Helldivers 2 loadout?
A reliable loadout covers four jobs before it chases a favorite item: control the crowd, answer armored targets, reach or hold the objective, and keep the squad supplied or alive. Your primary weapon usually handles the common target profile; the support weapon or a stratagem handles the threat that would otherwise stop the mission. Armor and its passive change how safely you can take a fight, while a booster and throwable should support the same plan. This is why a global meta list can be a poor answer for a new account or a different faction.
Name the failure first
If the squad loses to a breach, reserve space control. If a heavy enemy locks the objective, reserve reliable armor pressure. If the team runs out of time while traveling, add mobility or a safer route.
Treat every slot as a job
Write one short role beside each weapon, armor passive, booster, and stratagem before launch. Replace the slot that failed its job after the mission.
What belongs in a complete loadout?
A complete build is more than four stratagem names. Choose a primary for the enemy density and range you expect, a support weapon for armor or specialist pressure, armor that matches your movement and survivability needs, a throwable that buys space or finishes a target, and a booster that improves the team's repeatable loop. The four stratagem slots then fill the gaps that remain. Avoid spending every slot on damage if one missing utility tool will make the objective fail. Check the live client for names, costs, and behavior after balance updates.
Primary and support weapon
Use the primary for repeatable fights and the support slot for a threat that needs penetration, reach, or burst. Coordinate backpack and reload needs with the squad.
Armor, throwable, and booster
A passive is a multiplier for a plan, not a full build. Match it to fire, explosions, stealth, stamina, ammunition, or the movement pattern your mission demands.
Four stratagem jobs
Reserve at least one control or defensive option, one answer for heavy targets, and one emergency or objective tool. The fourth slot can specialize after the first three are clear.
Loadout role matrix: choose the missing job
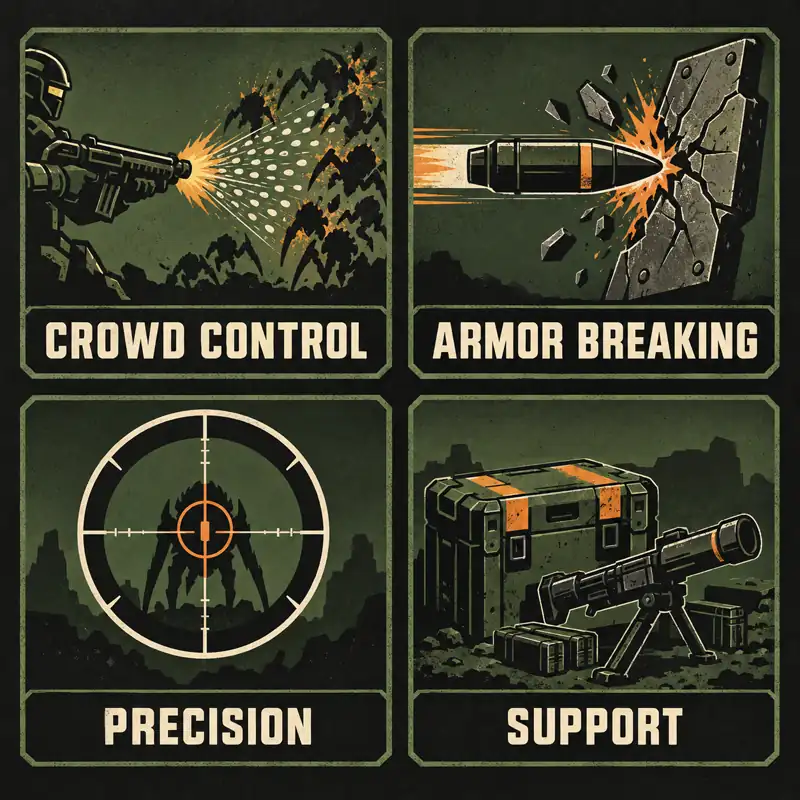
Use the matrix as a starting filter, then connect it to the rest of the team. Crowd control buys interaction time when waves reach the objective. Armor breaking keeps heavies from turning a normal fight into a reinforcement drain. Precision helps when cover, weak points, or distance decide the engagement. Support improves ammunition, survivability, or cooldown rhythm. Mobility matters whenever the operation punishes slow rotations. A strong Helldivers 2 loadout can combine roles, but every slot should still have a reason that survives a difficult mission.
Do not double a role by accident
Two players can bring the same launcher or booster on purpose, but duplicate cooldowns should be a team decision. Unplanned overlap often leaves the squad without control or recovery.
Use the role matrix with the objective
A defense, sample run, evacuation, and extraction create different pressure. Keep the role that prevents the specific failure of the next mission.
Best loadout patterns by faction
Faction is a loadout filter, not a permanent tier list. Terminids usually compress distance and create dense waves, so space, stagger, area damage, and a safe heavy-target answer matter. Automatons punish exposed shots and reward range, cover, precision, and armor penetration. Illuminate missions can change quickly as enemy, shield, and mission behavior evolves, so confirm the current client and patch notes before treating a recent build as settled. These patterns explain why the same weapon package can feel excellent on one front and awkward on another.
Terminids and bugs
Layer one repeatable crowd tool with a reliable answer for the heavy target that blocks the objective. If a teammate already covers armor, use the next slot to keep a breach from reaching the team.
Automatons and bots
Build around cover, range, weak-point access, and a safe response to heavy fire. Avoid four short-range panic buttons when the mission is won by controlled sightlines.
Illuminate
Keep shield and specialist interactions provisional until the live client confirms them. Bring utility that helps you reposition and recover when the battlefield changes.
Early game, solo, and four-player examples
The right Helldivers 2 loadout changes with the account and the number of people sharing the work. Early players need forgiving cooldowns and broad coverage more than a narrow specialist build. Solo divers must cover more threats because nobody else can rescue a missing role. A four-player team can specialize, but only after the squad agrees who handles armor, waves, objectives, and resupply. Use these examples as patterns to test, not as promises that one exact item wins every patch.
Early-game pattern
Pair a broad primary with one heavy-target answer, add a control or defensive tool, and keep one slot for movement, ammunition, or emergency recovery.
Solo pattern
Prefer coverage over peak damage. Do not make the plan depend on a teammate's backpack, reload, or rescue when a failed answer costs the operation.
Four-player pattern
Name each player's jobs before launch. Duplicate a powerful tool only when the extra uptime is more valuable than the role it replaces.
How to use the weapons, armor, and stratagem guides
This page connects the pieces; the existing specialist pages explain each piece in more detail. Use the Helldivers 2 best weapons guide when the primary or support choice is unclear. Use the best stratagems guide when you need to compare crowd control, anti-armor, mobility, or support. Use the armor passives guide to check whether a passive actually matches the build. The Warbond list and unlock guide help with acquisition; they do not replace a live-client check.
Keep intent boundaries clear
A weapons page answers which weapon role fits a threat. A loadout page answers how several roles work together. Linking the two gives readers depth without creating a second weapons catalog.
Record the test
Note faction, difficulty, mission type, patch date, ammunition, cooldowns, and the slot that failed. A short test note is more useful than a copied tier letter.
Patch checks and evidence limits
Names, costs, armor interactions, cooldowns, and enemy behavior can change. Steam News and PlayStation provide first-party announcements; the community Wiki is useful for locating an item but can lag after a patch. Before a high-difficulty operation, open the current in-game card and confirm the item still does the job you assigned it. This guide deliberately avoids claiming fixed damage values or a permanent meta. When a new faction or balance patch arrives, update the role logic first and only then change a recommendation.
When a build is stale
If the live client contradicts an older article, video, or wiki row, the client wins. Keep the loadout label provisional until the new behavior is tested.
Why the date matters
A recommendation without a patch date can look more certain than it is. Recheck this page after major balance changes or new faction mechanics.
Helldivers 2 loadout role matrix
| Job | When it matters | What to compare | Common mistake |
|---|---|---|---|
| Crowd control | Breaches or waves reach the objective | Stagger, area, uptime, safe range | Choosing only single-target damage |
| Armor breaking | Heavy targets stop progress | Penetration, reload, ammunition | Assuming raw damage solves armor |
| Precision | Cover and weak points decide the fight | Range, recoil, sightlines | Taking a precision tool into a close swarm |
| Mobility | Travel or terrain splits the squad | Speed, stamina, repositioning | Moving fast without a threat answer |
| Squad support | Recovery or ammunition costs time | Cooldown, backpack, team overlap | Duplicating a role nobody needs twice |
Seven-second loadout check before launch
- Name the mission objective and the threat most likely to stop it.
- Give the primary and support weapon different jobs unless the overlap is intentional.
- Confirm one crowd-control or defensive answer and one armor answer.
- Match armor passive and throwable to the same movement or survival plan.
- Check booster and backpack overlap with the squad.
- Keep one emergency or extraction option available.
- Record what failed and retest after a major patch.
Open the weapons guide Open the stratagem guide Check armor passives helldivers 2 boosters Browse the Warbond list Use the homepage planner
Helldivers 2 loadouts FAQ
What is the best Helldivers 2 loadout?
There is no universal best loadout. The best one covers the mission threat your squad lacks, then fits faction, difficulty, player skill, and patch state.
What loadout should a level 9 player use?
Use a forgiving primary, one reliable heavy-target answer, one crowd or defensive tool, and one support or movement option. Confirm the live unlock and cost in the client.
What is a good stealth loadout in Helldivers 2?
Start with a detection-aware armor or passive, a quiet or precise weapon role, mobility, and a way to disengage. Keep one answer for the objective threat so stealth does not become a failed extraction plan.
Is this a Helldivers 2 loadout builder?
No. This is a guide with role patterns and examples, not a save or generator tool. The live client remains the place to equip and save a loadout.
Should I copy a meta loadout?
Use a meta build as a shortlist. Replace the slot that duplicates your squad or fails the next mission, and recheck the patch date before treating a recommendation as current.
How do I get other guns for a loadout?
Check the current acquisition and Warbond menus, then use the weapons and unlock guides for context. Access and reward costs can change, so follow the live client.
Are the images official screenshots?
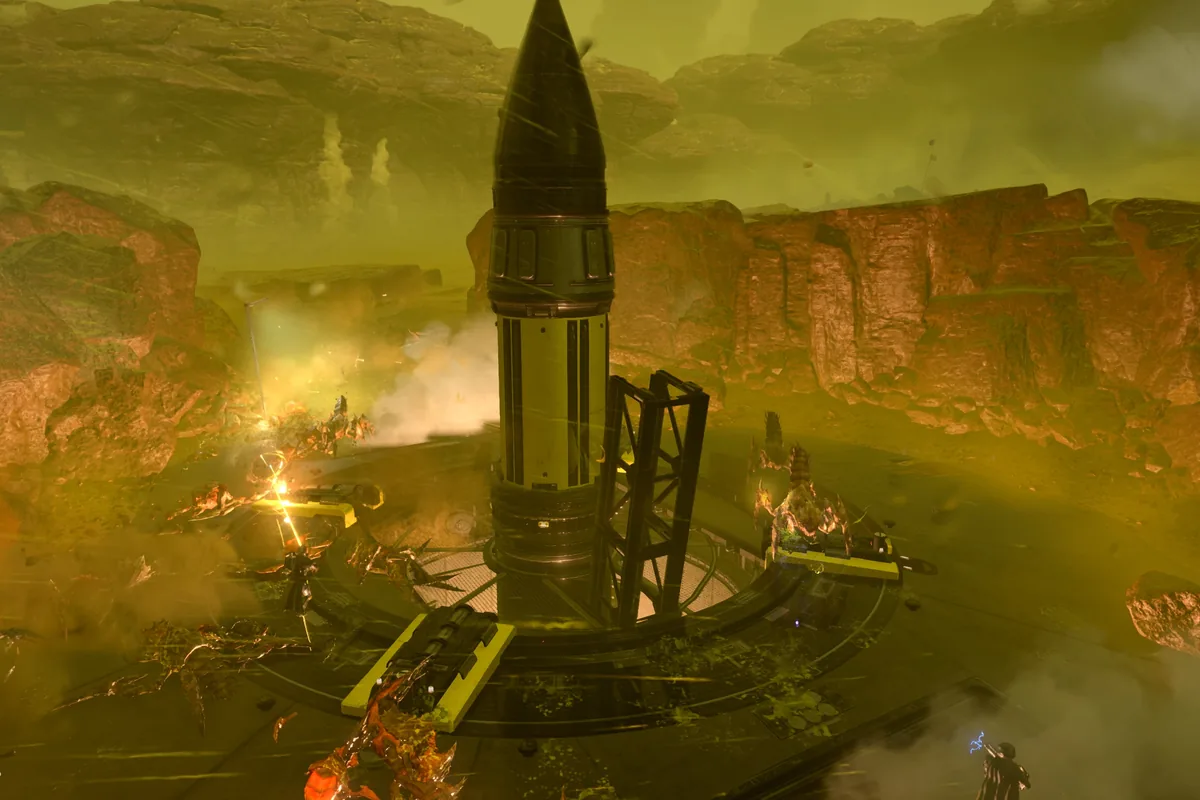
The combat and objective visuals provide official gameplay context from the checked store media. The role matrix is an editorial explanation graphic, not an official interface.
Official sources and image notes
- Helldivers 2 on Steam - Official game page and gameplay context.
- Helldivers 2 Steam News - Official patch and balance updates.
- Helldivers 2 on PlayStation - First-party game context.
- Helldivers Wiki loadout references - Community reference; verify names, costs, and behavior in the live client.