Helldivers 2 Boosters List: Best Picks by Mission and Squad Role
The short answer: there is no single best booster for every Helldivers 2 mission. Start with the failure your squad repeats, then choose the booster that changes that loop. This guide maps common booster names to ammo, stamina, scouting, survivability, reinforcement, extraction, and landing-zone roles, while keeping the live client as the authority for the current roster and wording.

Quick answer: what is the best booster in Helldivers 2?
The best booster is the one that removes your squad's most repeatable failure. Hellpod Space Optimization is a sensible ammo check for a team that starts dry. Stamina Enhancement is a better answer when travel, climbs, and repeated objective rotations cost more time than combat. Vitality Enhancement can be more valuable than a damage-focused choice when ordinary hits are consuming reinforcements. Treat a booster tier list as a shortlist, not a permanent ranking: mission type, faction pressure, difficulty, player experience, and balance updates can change the result.
Use the failure test
Write down the reason the last three missions became difficult. If the answer is empty magazines, slow travel, lost samples, or a late extraction, pick the booster that changes that specific loop.
Keep the final check in game
Names, effects, and availability can change. Open the current booster description before the operation and do not convert an old guide value into a current guarantee.
What boosters do and how the slot works
A Booster is a team-support choice equipped before a mission. It is different from a primary weapon, armor passive, Stratagem, or Warbond access item. The practical question is not only whether an effect is strong; it is whether the effect helps enough players often enough to justify one of the squad's slots. Coordinate duplicates and overlaps. Two players can intentionally share a role, but accidental duplication can leave the team without ammo, information, recovery, or movement support.
Team value over solo fantasy
A booster that looks modest in a solo description can be excellent when four players benefit from the same loop. Conversely, a specialist choice may be correct when one operation has a clear constraint.
Do not confuse unlock with effect
Unlocking a Warbond page or owning an item does not remove the need to equip it. Confirm the loadout screen and mission description before launch.
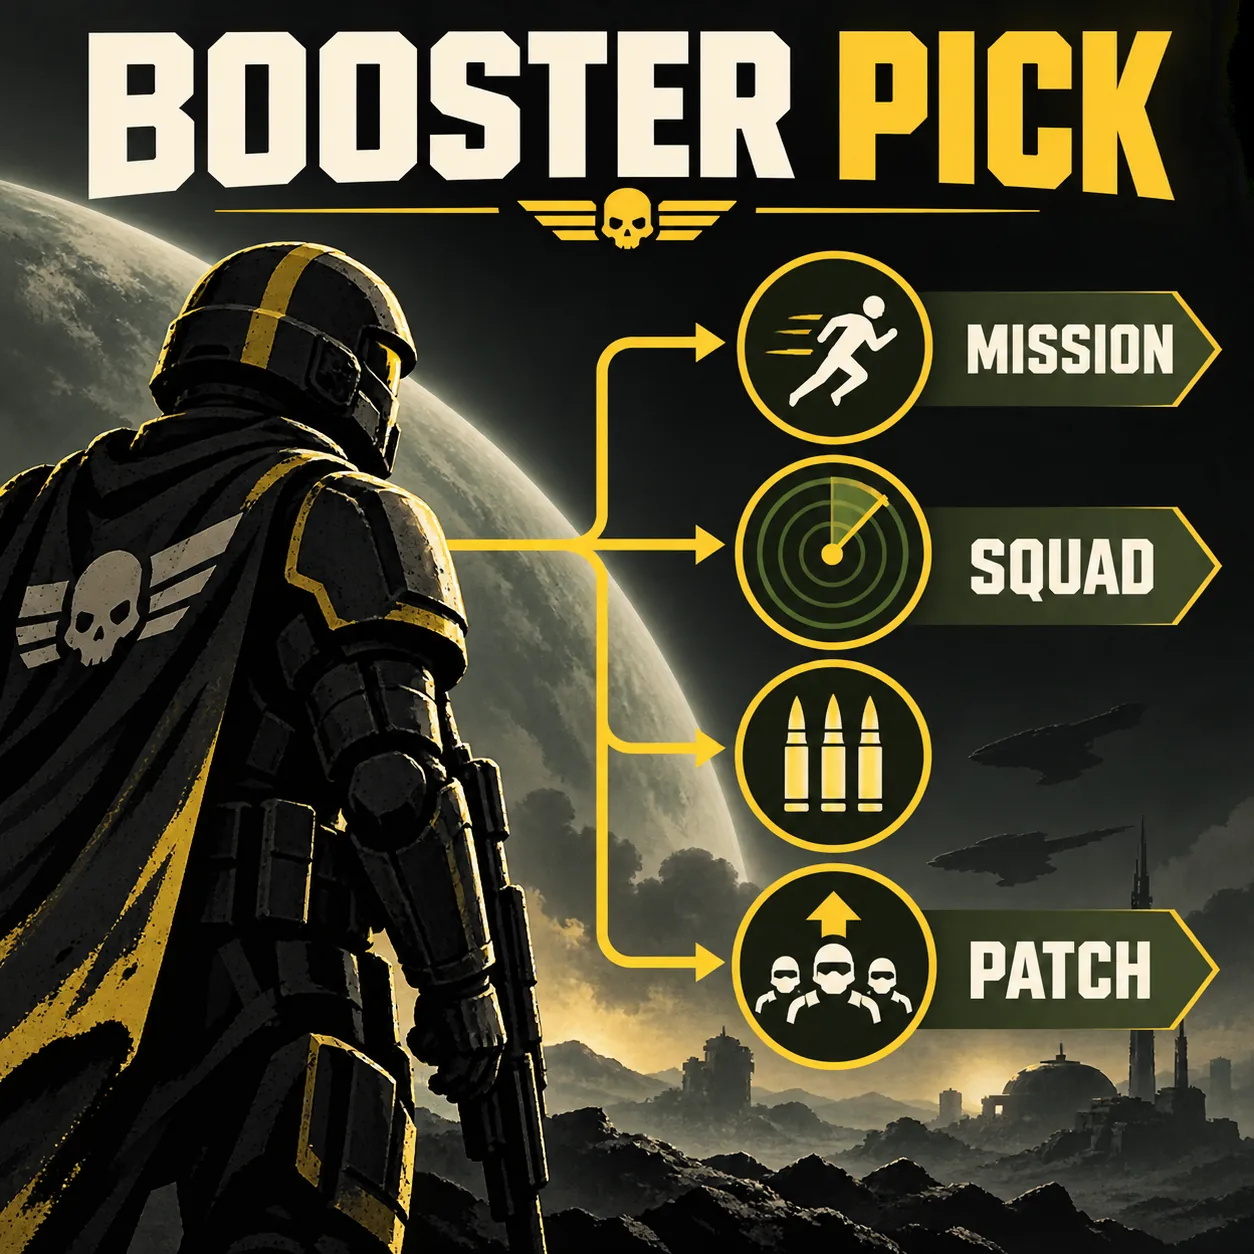
Best boosters by role: a practical shortlist
The table below gives a decision starting point rather than a universal S-to-F ranking. Use the role column to create two or three candidates, then compare the live descriptions and your squad's existing loadouts. For a new player, broad utility is usually easier to evaluate than a highly specialized effect. For an experienced squad, the best choice may be the narrow one that protects a known failure on a high-difficulty operation.
Ammo and readiness
Start with Hellpod Space Optimization when the first engagement is lost to missing ammunition. Pair the choice with a support-weapon plan and a clear resupply rhythm.
Movement and information
Stamina Enhancement and Muscle Enhancement address movement; UAV Recon Booster supports radar awareness, while Sample Scanner and Sample Extricator fit sample routes. Choose by the bottleneck and confirm each live description.
Recovery and extraction
Reinforcement and extraction boosters are risk-management tools. They can be better than a damage-adjacent choice when the squad already kills efficiently but fails late.
20 community-catalog Helldivers 2 boosters
Snapshot of 20 entries returned by The Helldivers Wiki Booster table (page revision 2026-09-27; checked 2026-10-23). This is a community reference, not an official live roster; verify names, effects, availability, and prices in the current client.
| Booster | Primary job | When to compare it |
|---|---|---|
| Hellpod Space Optimization | Ammo and reserve readiness | Choose it when early resupply pressure or empty magazines is the squad's repeat failure. |
| Vitality Enhancement | Survivability | Compare it when ordinary damage, limb injuries, or close-range mistakes are costing reinforcements. |
| UAV Recon Booster | Map information | Useful for sample routes and points of interest when the team loses time searching. |
| Stamina Enhancement | Rotation and objective tempo | A strong starting candidate for long travel, repeated climbs, and fast repositioning. |
| Muscle Enhancement | Terrain movement | Consider it when snow, mud, dunes, or other terrain repeatedly breaks the route. |
| Increased Reinforcement Budget | More reinforcement reserve | A buffer for groups that can finish missions but regularly spend the reserve before extraction. |
| Flexible Reinforcement Budget | Reinforcement tempo | Compare the live description when reducing the wait between reinforcements matters more than a larger reserve. |
| Localization Confusion | Breach and patrol pressure | A candidate for squads that need more time between enemy escalations; verify the current wording in game. |
| Expert Extraction Pilot | Extraction timing | Use it for operations where a shorter extraction wait protects the final objective or sample haul. |
| Experimental Infusion | Stim-based emergency utility | A situational choice for builds that already plan around stims and short pushes. |
| Motivational Shocks | Slow and recovery pressure | Consider it when slowing effects or recovery windows are the reason a fight collapses. |
| Firebomb Hellpods | Landing-zone control | A specialist option for teams that want an aggressive drop-zone effect; check the current mission fit. |
| Armed Resupply Pods | Resupply landing-zone defense | Check the live description before choosing this specialist landing effect. |
| Concealed Insertion | Smoke cover on deployment | Compare when an exposed drop needs cover; verify the current effect in game. |
| Dead Sprint | Emergency sprint with a health tradeoff | Use only when the extra movement is worth the health cost shown by the client. |
| Integrated Extinguishers | Faster recovery from fire | Compare on missions where fire is a repeated threat; check the live wording. |
| Sample Extricator | Sample drops from large enemies | Compare on missions with repeated large-enemy kills; verify cap and sample type. |
| Sample Scanner | Additional sample pickup chance | Compare on sample routes; verify the current rate and sample type. |
| Stun Pods | Stun effect near a Hellpod landing | Compare when the squad can use the landing impact to interrupt nearby units. |
| Surplus EAT Allocation | Extra EAT stratagem uses | Compare with a coordinated anti-armor squad; confirm the current use count. |
Shortlist by mission problem
| Repeated failure | First candidates | Decision check |
|---|---|---|
| Empty magazines or slow first resupply | Hellpod Space Optimization | Does the first breach become stable without changing the whole loadout? |
| Long travel, climbs, or late objective rotations | Stamina Enhancement; Muscle Enhancement | Is stamina or terrain the actual time sink? |
| Lost samples or wasted search time | UAV Recon Booster; Sample Scanner; Sample Extricator | Would more sample yield or radar information save the most time? |
| Reinforcement reserve runs out | Increased Reinforcement Budget; Flexible Reinforcement Budget | Do you need a larger reserve or faster recovery? |
| Extraction fails after the objective | Expert Extraction Pilot; recovery option | Is the delay or the remaining reinforcement reserve the bottleneck? |
| A specialist landing or crowd-pressure plan | Firebomb Hellpods; Localization Confusion | Does the current mission actually reward the specialist effect? |
How to get boosters in Helldivers 2
The usual route is to inspect the current Warbond reward pages, confirm the booster name and unlock requirement, then spend the game's relevant progression currency when the page is available to your account. The exact page order, price, availability, and naming should be checked in the live client. This is why a guide about how to get boosters Helldivers 2 should explain the route without promising that every booster is available through the same catalog or that an old page order is still unchanged.
Step 1: identify the source
Open the live Warbond or reward screen and record the exact booster name. Use the Warbond directory when a guide or squadmate gives you only a name.
Step 2: plan Medals
Access and reward progression are separate decisions. Compare the first useful page with your current Medal balance and do not assume that unlocking a catalog instantly grants every item.
Step 3: equip and test
Add the booster to a real loadout, run a repeatable mission, and record whether the intended failure changed. Recheck after a major patch.
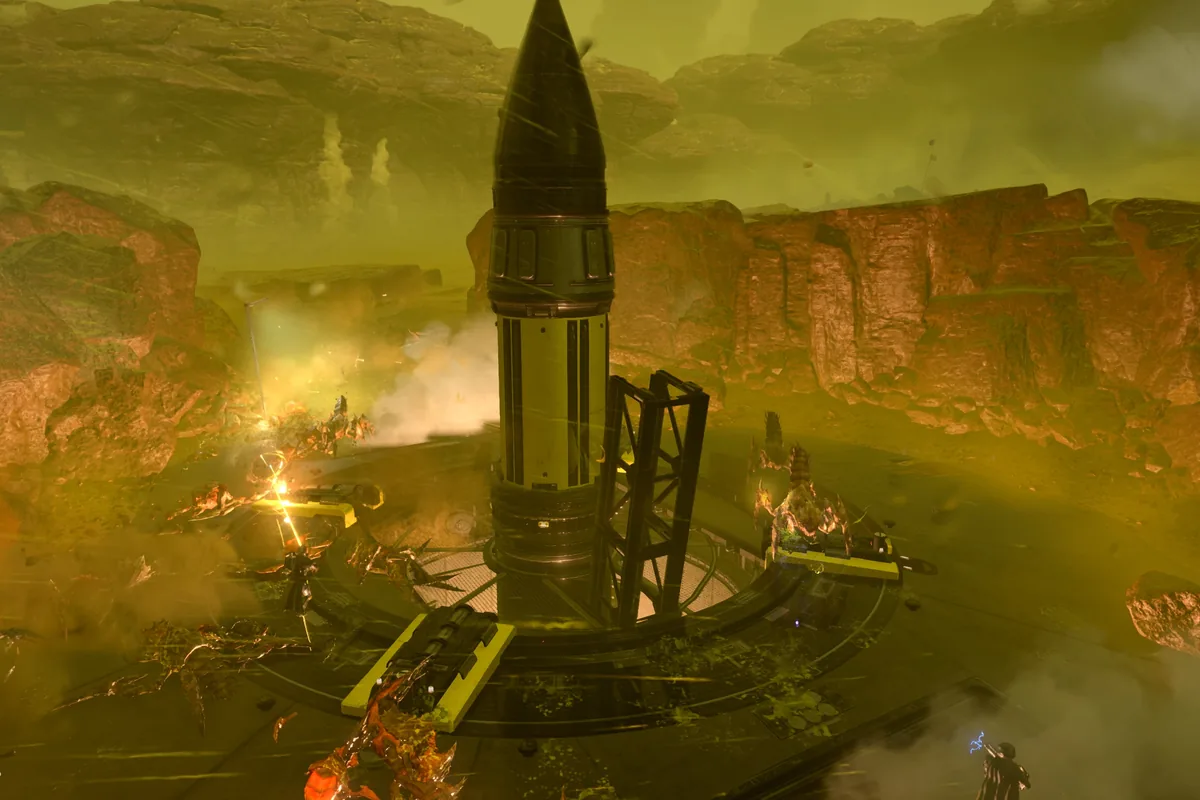
Helldivers 2 boosters list: reference rows and caveats
The reference rows below cover common booster names and the job players usually ask them to perform. They are deliberately written as role notes rather than hard numerical claims because live descriptions and balance can move. If the current client shows a different effect, the client wins and this page should be updated. Community references are useful for discovering names, while official announcements and the game itself are better for current availability and exact text.
What is included
Ammo, health, movement, reconnaissance, reinforcement, extraction, crowd-pressure, and landing-zone examples are included so the list serves both a new player and a returning squad.
What is not claimed
This is not a promise that the table is an eternal complete catalog, a live price sheet, or a fixed booster tier list. Check date and source before spending Medals.
Build examples: choose the booster after the failure
Example one: a four-player squad reaches objectives but runs out of ammunition during the first breach. Start with Hellpod Space Optimization, then confirm that the support-weapon and resupply plan are not competing for the same slot. Example two: a sample run loses time to terrain and long rotations. Compare Stamina Enhancement, Muscle Enhancement, or UAV Recon Booster based on whether movement or information is the bottleneck. Example three: the team wins fights but fails the final extraction. Compare Expert Extraction Pilot or a reinforcement option before adding another damage effect.
A simple test log
After each mission, write the booster, the failure, the mission type, and one observable result. Three short records are more useful than copying a global tier list.
Coordinate before ready
Ask what each player is solving. Keep one player on broad support when the rest of the team already covers damage and armor pressure.
Patch-safe maintenance and limits
Booster recommendations age when mission objectives, enemy behavior, reward pages, or balance values change. Keep the check date visible, link to official Steam or PlayStation context for announcements, and treat the current game client as the final source for exact descriptions. Search volume can show that players want a Helldivers 2 boosters list, but it cannot prove that a particular booster is currently strongest. The safest recommendation is a transparent fit test: name the mission problem, name the expected benefit, and verify the result after the patch.
When to refresh
Refresh after a Warbond release, a major balance patch, a renamed item, or a change to reward page availability.
When not to force a choice
If the squad has no repeated failure or the item is not confirmed in the live client, keep the candidate as a question or internal link instead of calling it best.
Six checks before you lock a booster
- Name the mission failure you are trying to change.
- Check the current in-game description and unlock status.
- Ask what each squadmate is already bringing so roles do not overlap by accident.
- Match ammo, movement, scouting, survival, reinforcement, or extraction to the actual bottleneck.
- Run a repeatable mission and record one observable result.
- Recheck the choice after a major patch or a new Warbond release.
Use the loadout guide Open the Warbond list Compare armor passives Compare Stratagem roles Open the planner
Helldivers 2 boosters FAQ
What is the best booster in Helldivers 2?
There is no permanent universal winner. Start with the squad failure that repeats, then compare the booster that changes that loop. Stamina, ammo, survivability, scouting, and reinforcement choices solve different problems.
How do you get boosters in Helldivers 2?
Open the current Warbond reward pages, confirm the booster and its requirement, then use the progression currency shown by the live client. Page order and availability can change, so do not rely on an old screenshot.
Is there a complete Helldivers 2 boosters list?
This table mirrors 20 entries returned by the community wiki Booster table, checked 2026-10-23 (its page revision is 2026-09-27). It is not an official live roster; confirm current names, effects, and availability in game.
Should every player equip a different booster?
Not always. Intentional duplication can be useful, but accidental overlap can leave a squad without a needed role. Coordinate the team problem before readying up.
Do boosters work in every difficulty?
The role can remain useful across difficulties, but the best choice depends on mission type, faction pressure, player experience, and the current patch. Test the choice in the difficulty you actually play.
Are boosters tied to Warbonds?
Many booster unlocks appear on reward pages, but the exact source and availability must be checked in the live client. This page does not turn a community listing into an official purchase claim.
What should a new player choose first?
Start with a broad team need such as ammo, stamina, or survivability, then test it in a repeatable mission. Avoid a narrow choice until you know which failure your squad repeats.
Is this an official Helldivers 2 guide?
No. It is an independent fan reference. Official announcements, the live client, and platform information take priority over this page.
Sources and scope
- Steam HELLDIVERS 2 news - Official announcements and patch context; use the current post for release or balance claims.
- PlayStation HELLDIVERS 2 - First-party game and platform context.
- Helldivers Wiki Booster reference - Community-maintained discovery reference for names; verify exact effects and availability in the live client.