Best Stratagems in Helldivers 2: Choose by Mission, Enemy, and Squad Role
The best stratagem in Helldivers 2 is the one that answers the threat your mission actually creates. This guide separates crowd control, anti-armor, mobility, and squad support so you can build a loadout for Terminids, Automatons, or Illuminate without treating an old tier list as a permanent truth.
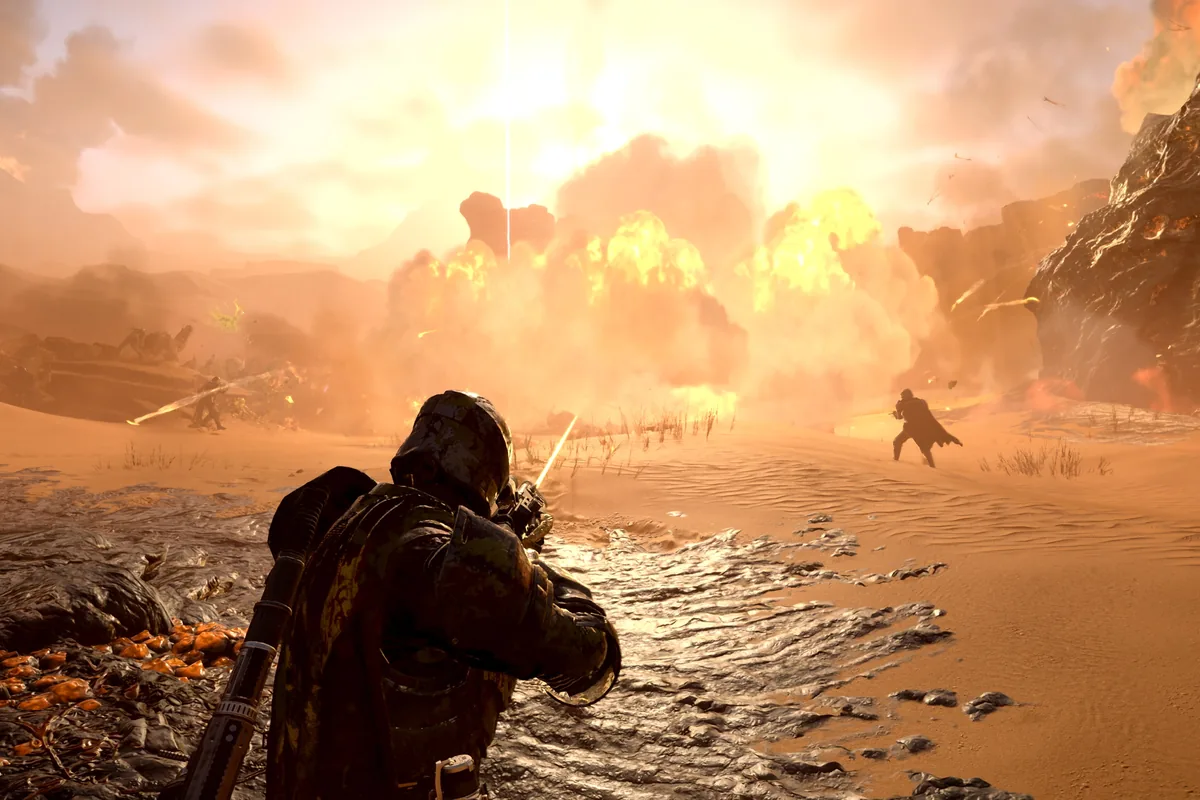
Quick answer: what are the best stratagems?
There is no single best four-stratagem loadout for every operation. Start with the mission objective, identify the enemy pressure that can fail it, then reserve at least one slot for that failure mode. Terminid defense often needs space and wave control; Automaton missions reward cover, precision, and reliable armor answers; Illuminate operations can change the value of shields, mobility, and area denial as the live game evolves.
Use rankings as a shortlist
A tier list can reveal candidates, but it cannot know your difficulty, squad composition, cooldown comfort, or the objective modifier on the next operation. Treat it as a starting filter, then test one change at a time.
The practical test
After a mission, ask which threat consumed reinforcements or time. Replace the slot that failed to answer that threat before replacing a weapon that merely felt less stylish.
How to choose a stratagem by mission
Mission type changes the value of every slot. A defense objective rewards repeatable area control and safe reload windows. A search or sample run rewards mobility, survivability, and tools that let the squad disengage. A blitz or extraction asks for burst damage, fast repositioning, and cooldowns that return before the final fight. The correct answer is therefore a mission plan, not a universal top-four list.
Defense and hold points
Choose tools that deny a lane, stagger a wave, or create a safe reset when the objective is surrounded. Avoid four slow cooldowns that all fail at once.
Search, samples, and travel
Keep one slot that helps you move or recover after a patrol. A loadout that wins every duel but delays the objective can still lose the operation.
Extraction and high difficulty
Keep a reliable emergency option available for the final timer. A theoretical damage pick is weak if its cooldown is unavailable when the squad needs it.
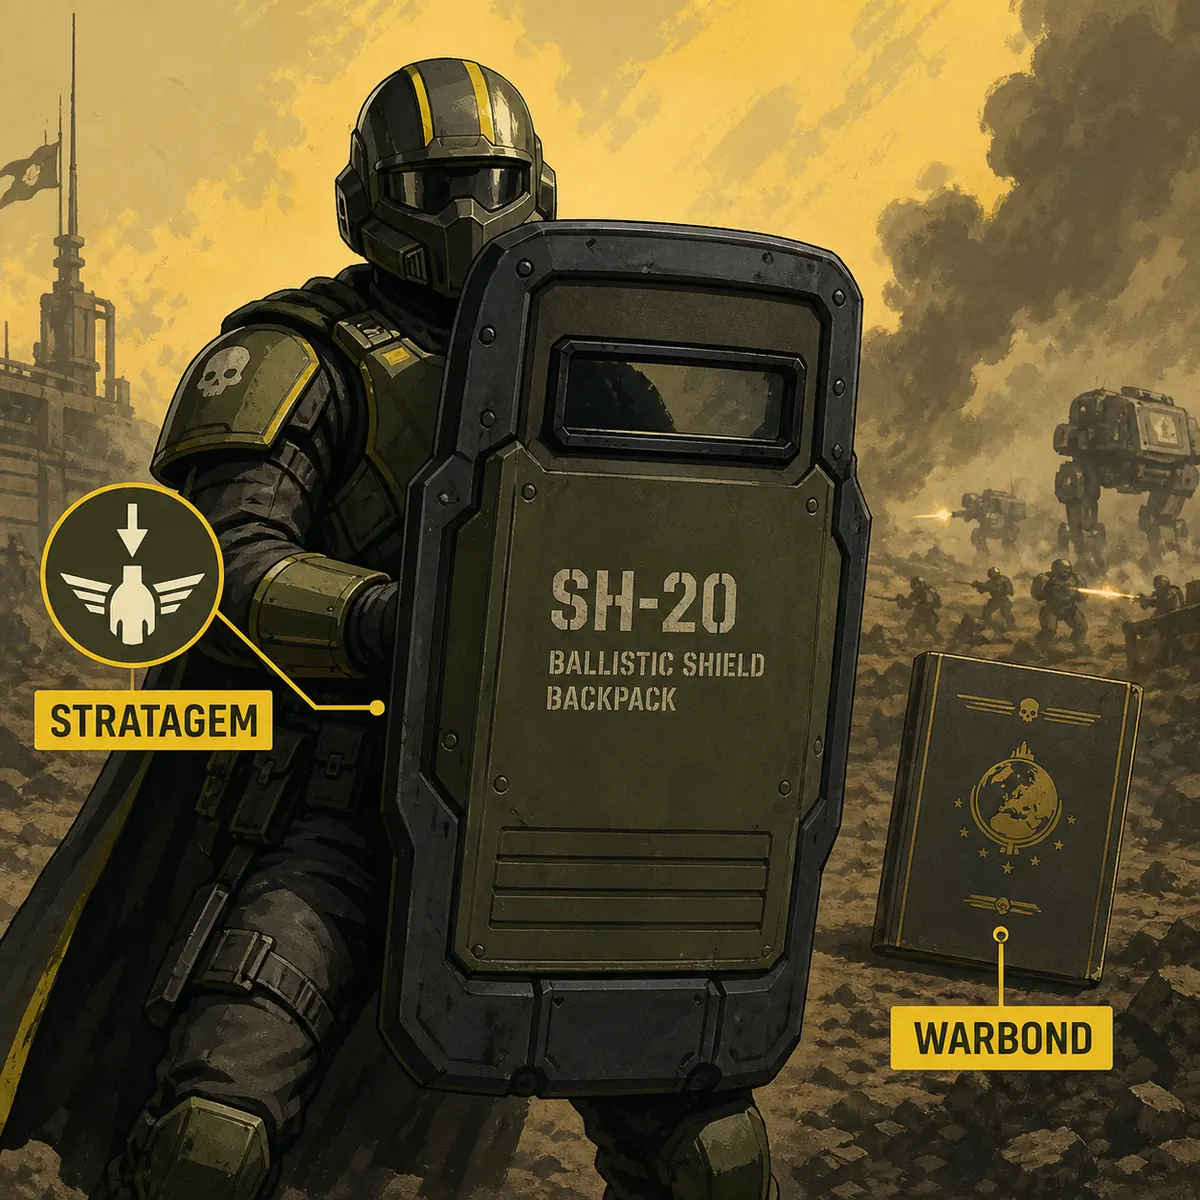
The four roles behind a strong loadout
A useful loadout covers jobs rather than collecting four popular names. Crowd control buys space, anti-armor answers heavy targets, mobility changes position or reaches an objective, and support improves team tempo, survivability, or resupply. You can combine roles in one stratagem, but you should still be able to explain what each slot does when the mission becomes chaotic.
Crowd control
Use stun, fire, gas, explosive, or area tools when waves erase the time your team needs to interact with an objective.
Anti-armor
Use a dedicated answer when heavy enemies cannot be handled by the primary weapon alone. Check armor interaction and reload safety, not only the damage number.
Mobility
Use movement or repositioning when the mission punishes slow rotations, open ground, or a squad that gets split by patrols.
Squad support
Use boosters, resupply, defensive, or utility choices when the team loses more time to recovery and ammunition than to raw damage.
Stratagem role comparison table
| Role | Best when | Check before launch | Common mistake |
|---|---|---|---|
| Crowd control | Waves or objectives are being overrun | Stagger, area, duration, cooldown | Choosing only single-target damage |
| Anti-armor | Heavy targets stop the rotation | Armor interaction, reload, ammo | Reading raw damage only |
| Mobility | Open ground or travel splits the squad | Range, reposition, objective fit | Bringing movement with no threat answer |
| Squad support | Recovery, ammo, or team tempo fails | Cooldown, backpack overlap, resupply | Duplicating a role without a plan |
| Defense | The team must hold a lane or point | Uptime, safe reset, placement | Saving every cooldown until extraction |
| Flexible utility | The operation has uncertain modifiers | Adaptability, team callout | Treating utility as a permanent meta pick |
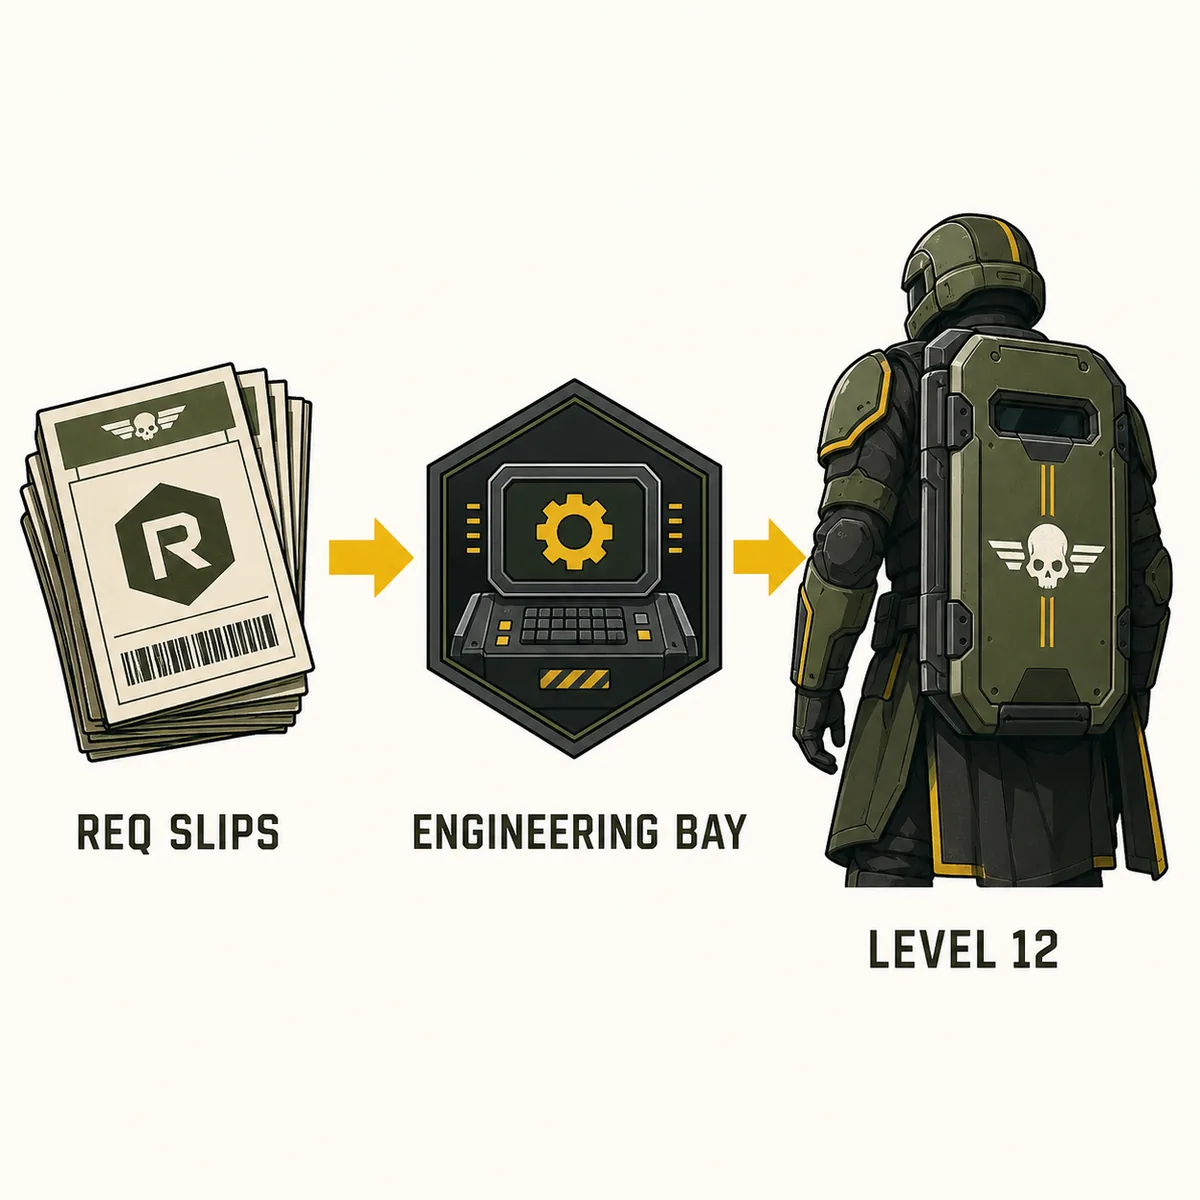
Best stratagem patterns for each faction
For Terminids, prioritize space, stagger, and a way to stop a close wave from reaching the objective. For Automatons, combine cover-friendly precision with anti-armor and a response to heavy fire; avoid building four slots around short-range panic. For Illuminate, check the current client and patch notes because shield behavior, special units, and mission modifiers can change which utility is worth a slot. These are patterns, not claims that one item stays best forever.
Terminids and bugs
Layer area denial with a dependable heavy-target answer. If the squad already has anti-armor, a second control tool can protect the objective better than another launcher.
Automatons and bots
Value range, cover, armor penetration, and a safe way to handle pressure while moving between objectives. Coordinate duplicate cooldowns before launch.
Illuminate
Verify current enemy and shield interactions in the live game. Keep the guide's recommendation provisional when a new patch or faction rule is still settling.
Early game, solo, and squad examples
A new player should value repeatability and forgiving cooldowns over a high-skill specialist. A solo diver needs to cover more threat types because there is no teammate to rescue a missing role. A coordinated squad can specialize, but only after everyone agrees who handles armor, waves, objectives, and resupply. The same stratagem can be excellent for one account and wasteful for another because the missing role is different.
Early-game example
Pair one broad control or defensive option with one heavy-target answer, then add a movement or support choice that helps you complete objectives rather than chase kills.
Solo example
Do not assume another player will bring the backpack, reload help, or anti-armor slot. Trade peak damage for coverage when a failed answer costs the mission.
Four-player example
Write the role beside each slot before launch. Duplicate a tool only when its uptime or target coverage is intentional.
Unlocks, patch checks, and evidence limits
Stratagem availability, level gates, costs, names, and behavior belong to the live Helldivers 2 client. Steam and PlayStation provide official game context and patch announcements; community references are useful for locating items but can lag behind a balance update. This page records decision logic rather than promising a fixed damage value, drop rate, or permanent meta. Recheck the item card after a major patch before changing a long-term loadout.
Do not confuse systems
A stratagem is selected from the ship's stratagem management flow and is different from a Warbond reward. Super Credits, Medals, and Requisition Slips serve different systems.
Keep a compact test note
Record faction, difficulty, mission type, patch date, cooldown, ammunition, armor interaction, and whether the squad had a safe reload window.
When a guide is stale
If the client contradicts an older article or wiki row, the current client wins. Mark the page for review instead of silently repeating an obsolete number.
Common mistakes and a maintenance checklist
Most bad stratagem recommendations come from copying a list without naming the problem it solves. Four damage picks can leave a squad unable to control a breach. Four long cooldowns can be empty during extraction. A popular item can also overlap with a teammate while the mission's real gap is mobility or recovery. Use the checklist below before committing to a new loadout, then revisit it after the next balance or faction change.
Seven-second stratagem check
- Name the mission objective and the threat most likely to stop it.
- Assign one slot to crowd control or defense if waves can overrun the point.
- Confirm who handles heavy armor and whether the reload window is safe.
- Check faction, difficulty, modifiers, and the current patch date.
- Compare cooldowns and ammunition with the other players before launch.
- Keep one emergency option for extraction or a failed objective.
- After the mission, replace the slot that failed the real problem, not the slot that looked least popular.
Compare Warbond buy order Read the weapons guide Review armor passives Open the Warbond list Read the unlock guide
Best Stratagems in Helldivers 2 FAQ
What are the best stratagems in Helldivers 2 right now?
The best choices depend on the faction, objective, difficulty, and squad gap. Start with crowd control, anti-armor, mobility, and support roles, then verify the live item cards and current patch notes.
What are the best stratagems for bots?
Automaton missions usually reward cover-friendly range, armor penetration, and a safe response to heavy fire. Coordinate duplicate cooldowns and leave room for the objective instead of bringing four short-range panic tools.
What are the best bug stratagems?
Terminid operations often need space, stagger, area denial, and a dependable heavy-target answer. The exact item depends on the objective and what your squad already covers.
Should I copy a Helldivers 2 stratagem tier list?
Use a tier list as a shortlist, not a permanent answer. A patch, difficulty modifier, faction, or teammate role can change the best fit for your account.
How do I choose stratagems for solo play?
Solo players need broader coverage because no teammate can fill a missing role. Prefer forgiving cooldowns and at least one answer for waves and heavy enemies.
Are stratagems the same as Warbond rewards?
No. Stratagems are selected and managed through the ship's stratagem system. Warbonds are reward catalogs that use different access and progression resources.
Where should I verify stratagem costs and behavior?
Check the live game client first, then official Steam or PlayStation news for patches. Community wiki entries can help locate an item but may be outdated.
Official sources and image notes
- Helldivers 2 on Steam - Official game page and gameplay context.
- Helldivers 2 Steam News - Official patch and balance updates.
- Helldivers 2 on PlayStation - First-party game context.
- Helldivers Wiki stratagem reference - Community reference; verify names, costs, and behavior in the live client.